
We've all hit snooze only to awaken fully freaked out. But don't panic!
Here's how to style your hair in five minutes or less...

1. Braid long hair into a low ponytail.

Perfect for a fresh style using second-day hair. Get the tutorial here.

Roll hair into the back of a headband and pull out layers around the face. It can't get any easier. Get the tutorial here.

Curl a few sections of hair around the face with a half-inch curling iron to give an appearance of fullness (and hide bedhead). Get the tutorial here.
4. Turn a side braid into a low side bun.
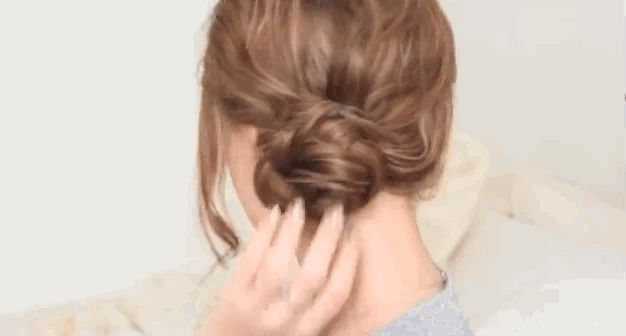
Wrap a side braid around the braid's base (right behind your ear). Secure with bobby pins. Get the tutorial here.
5. Thread together three ponytails.

Make three different ponytails and pull them through one another. Sometimes impressing people can be so easy. Get the tutorial here.
6. Braid one side and pull it into a teased ponytail.
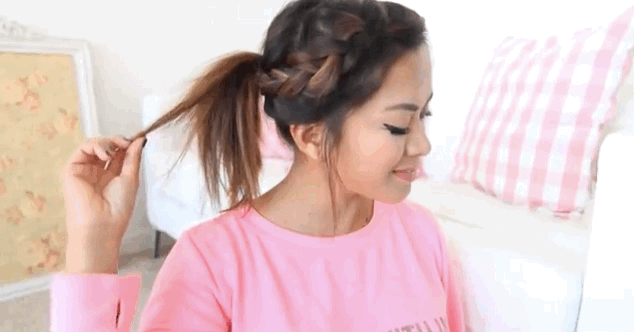
Braid one side of your hair, moving toward the back of your head. Secure hair in a ponytail. Backcomb the ponytail with a brush for added volume. Get the tutorial here.
7. Crown braid wet hair and roll it into a bun.

If you just hopped out of the shower, braid along your hairline, moving from one side of your head to the other. Stop braiding at your ear and wrap hair in a bun. Get the tutorial here.
8. Pin one side and curl the other.
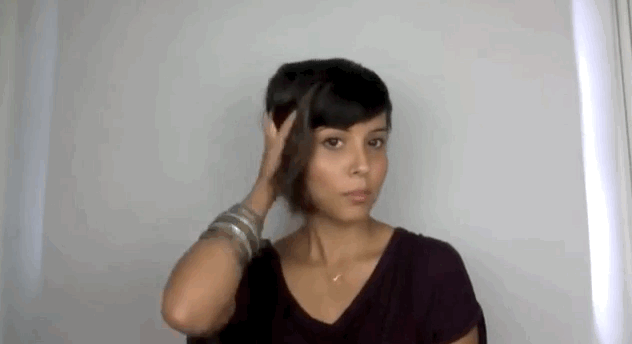
On one side, twist hair and pin with a bobby pin. On the other side, curl the front section of hair with a medium barrel curling iron. Get the tutorial here.
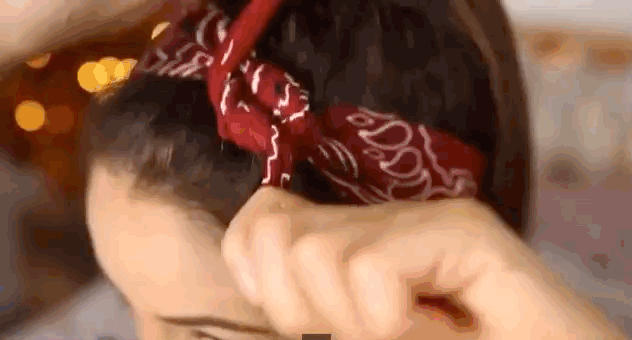
Perfect for hiding greasy roots! Get the tutorial here.

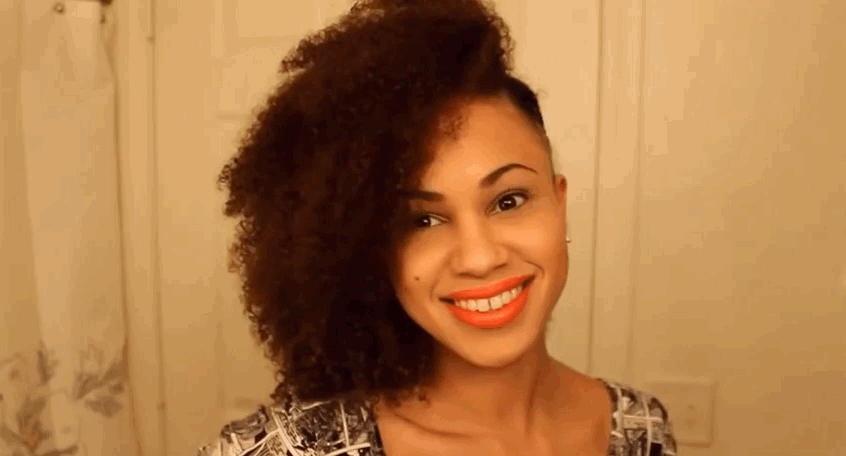
Slick back one side (and give some killer side-eye). Get the tutorial here.
11. Separate hair into four sections and pin it up.

Fold sections up to the crown of your head, tuck section ends into the hair, and pin. Perfect if you're running late to a formal event. Get the tutorial here.
12. Make two braids and pin them back.

Create two simple, three-strand braids and pin them to the back of your head. Next, take the hair left in the back of your head and begin tucking and rolling it toward the nape of your neck, pinning each area as you go. Get the tutorial here.
13. Try half-up and half-down (with no part).
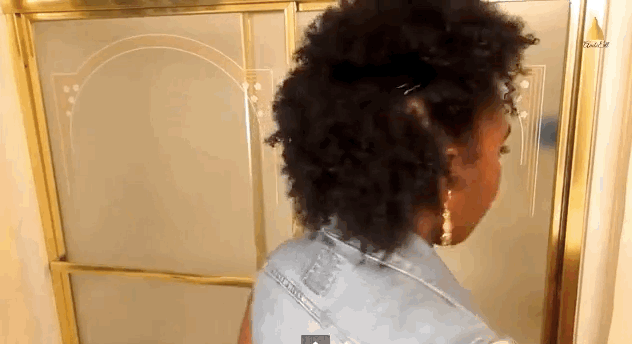
Roll hair on either sides of your face up to the top of your head (diagonal to your ear) and pin. Get the tutorial here.
14. Try a five-minute twist.

Twist and pin and twist and pin. Get the tutorial here.
15. Throw on a headband and push it a little past your hairline.

Wear a beaded headband ($3.80) to add a little style in a pinch.

16. Pull hair into a curly top knot.

Doughnut bun padding will be your friend. Get the tutorial here.
17. Make a ridiculously easy pulled-back look with hair slides.

Pull hair from both sides of the face to the back of the head. Slip hair slides into hair to create a geometric shape.
18. Rock a head scarf (and a pretty, messy updo).

A four-step hairstyle is like a fast-drying manicure aka a gift from above. Get the tutorial here.

Use hair bungee elastics (under $10) to make curly hair ponytails that much easier. Get the tutorial here.
20. Make a slicked, deep-side-part ponytail.
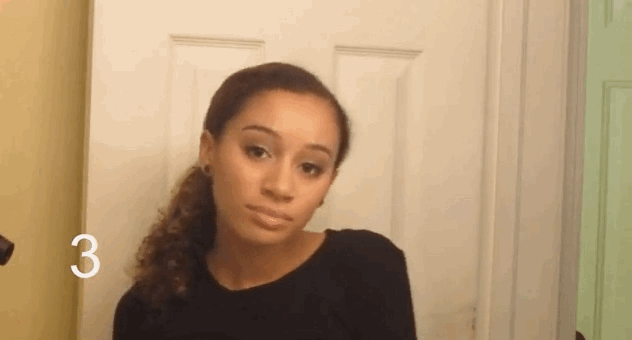
If your hair is having a frizzy moment, this style is a lifesaver. The more volume in the pony, the better. Get the tutorial here.

No hair ties needed. Try doing this style on a subway or walking to class for a windswept look. Get the tutorial here.
People Reveal How They Lost Weight By Betting On Their New Year's Resolution
One way to stick to your New Year's resolution? Put some money on the line.
Original article and pictures take www.buzzfeed.com site
Комментариев нет:
Отправить комментарий